If you’ve ever looked at an LS engine sitting on an engine stand and thought, “this would be a lot simpler if the wiring weren’t so intimidating,” you’re not alone. An LS swap — dropping one of GM’s popular LS-series V8 engines into a vehicle it didn’t come from originally — is one of the most rewarding performance builds you can do. But the factory wiring harness was designed for a specific GM truck or car, loaded with circuits you don’t need and missing connections you do. That’s where a standalone harness comes in: a pre-built, trimmed-down wire loom designed to run your LS engine in a new chassis without the factory body-computer mess. Sub-$200 options have flooded the market, and on paper they look like a genuine shortcut. This article breaks down what those budget looms actually deliver, what they quietly omit across three distinct tiers of build complexity, and — critically — what you need to verify before you ever connect one to your PCM.
| EDITOR'S PICKT56 DBC LS1 LS6 Standalone Wiri… | Mid-tierMichigan Motorsports LS Swap Wi… | Budget pickStandalone Wiring Harness | |
|---|---|---|---|
| Trans support | TH400 TH350 700R4 | — | 4L60E |
| PCM | Red/Blue | — | Red/Blue |
| Throttle | Drive by cable | — | Drive by cable |
| Injectors | EV1 | — | — |
| Engines | 4.8 5.3 6.0 | — | 4.8 5.3 6.0 |
| Fuse block | — | ✓ | — |
| Price | $119.21 | $94.99 | $87.89 |
| See on Amazon → | See on Amazon → | See on Amazon → |
The Promise Versus the Reality: What Budget Harness Listings Actually Say
The marketing framing for sub-$200 standalone LS harnesses is consistent: “plug and play,” “all circuits labeled,” “works with 1999–2006 truck and car PCMs.” For a segment of buyers, that promise holds up. Builder feedback documented across the LS swap community — summarized in Hot Rod Magazine’s “LS Swap Wiring Demystified” technician editorial overview (hotrod.com) — shows a clear split: roughly half of budget harness buyers report a running engine within a day or two of installation, citing clean pin-outs, readable labels, and a logical fuse block layout. The other half hit friction almost immediately.
The most documented friction points aren’t random. They’re structural — the same gaps appearing across different builders using different kits. Understanding those gaps before you order is the difference between a smooth build and a very expensive mistake. Super Chevy’s technician feature “LS Swap Wiring: Standalone Harness Tips and Pitfalls” (superchevy.com) identifies connector type mismatches, missing secondary sender circuits, and transmission wiring omissions as the three recurring failure categories across entry-level harness kits.
By the numbers — what listings claim vs. what builders report:
| Common Claim | Reality Across Owner Reports |
|---|---|
| ”All sensors included” | Oil pressure sender connector frequently absent |
| ”Supports 4L60E and 4L80E” | Most are pre-terminated for 4L60E; 4L80E requires extension or rewire |
| ”Compatible with all LS injectors” | Multec connectors standard; EV6 (flex-fuel 5.3, most LS3) requires adapter pigtails |
| ”Ready to run” | Pre-start continuity check recommended on every unit regardless of brand |
Three Build Tiers: What Each Level Actually Needs from a Standalone Harness
Not every LS swap is the same, and the gaps in a budget standalone harness matter very differently depending on your build’s complexity. The sections below break the market into three tiers — entry-level, mid-level, and full-build — so you can match a harness’s real-world capability to what your project actually demands.
Entry-Level Swap: Pre-2003 Truck Engine, 4L60E, Multec Injectors
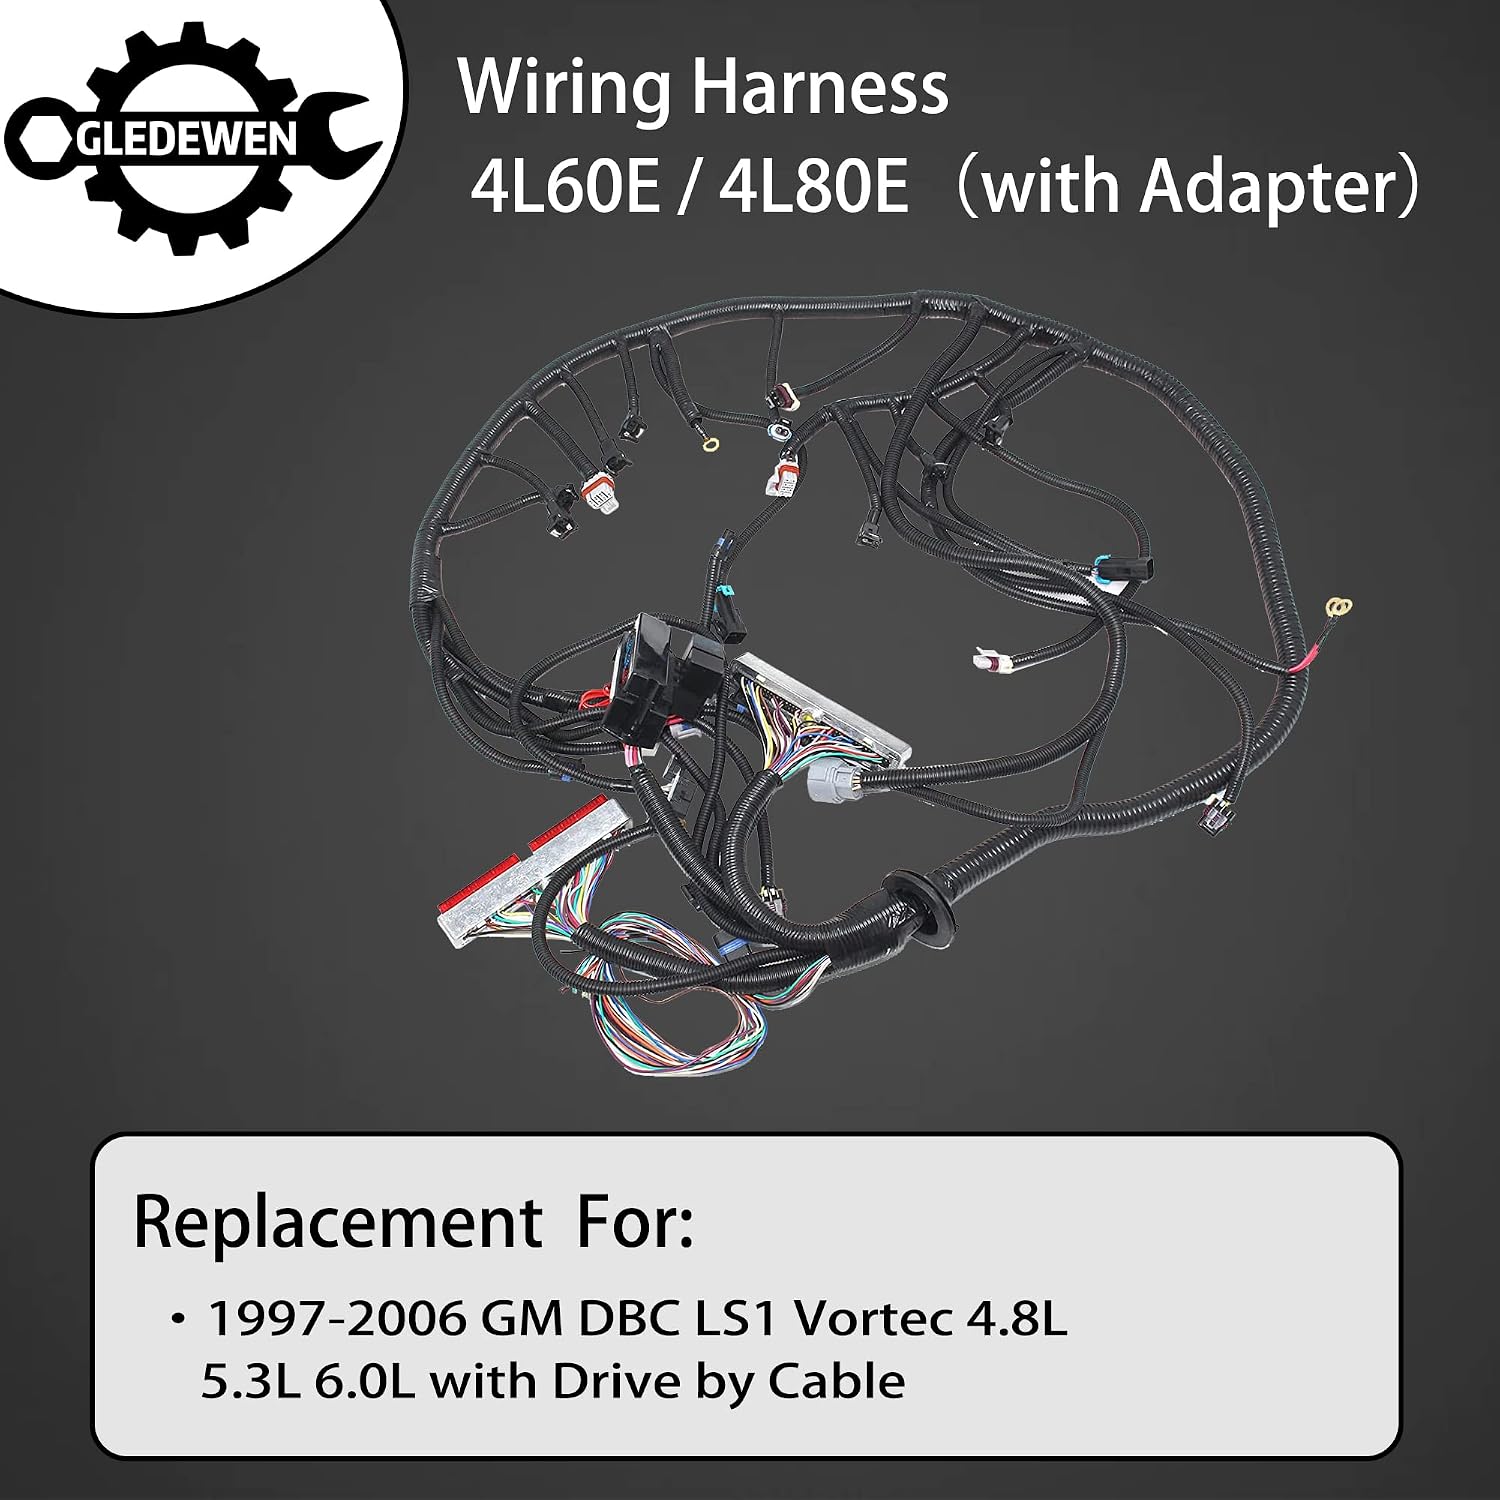
Standalone
$87.89
In stock on Amazon
Check price on AmazonThe simplest scenario for a budget standalone harness is a Gen III truck engine — a 4.8, 5.3, or 6.0 from the 1999–2002 range — paired with a 4L60E automatic and the early Multec 2 injector connectors. This is the configuration that sub-$200 harnesses are built and optimized for, and it’s the tier where buyer satisfaction is highest.
For this build profile, the harness’s Multec 2 injector connectors match the engine directly. The 4L60E transmission connector set is pre-terminated. The PCM connector family — assuming you’re using an early red-connector truck PCM such as the 12200411 or 12212156 family — matches the harness pinout without modification. OnAllCylinders’ “LS Swap Basics: Everything You Need to Know” (onallcylinders.com) confirms that this engine/transmission/PCM combination represents the most widely documented and lowest-friction entry point for first-time LS swappers.
What you still need to verify at this tier: The oil pressure sender circuit for a factory-style gauge is almost universally absent from budget harness kits at this level. If you’re running an aftermarket oil pressure gauge with its own dedicated sender, this is a non-issue. If you’re trying to retain a factory instrument cluster signal, source a generic GM oil pressure sender pigtail and terminate the circuit yourself — it’s a two-wire job, but it’s not included and the listings rarely say so.
Standalone
$87.89
In stock on Amazon
Check price on AmazonMid-Level Swap: Flex-Fuel 5.3 or LS3, EV6 Injectors, Mixed PCM Families
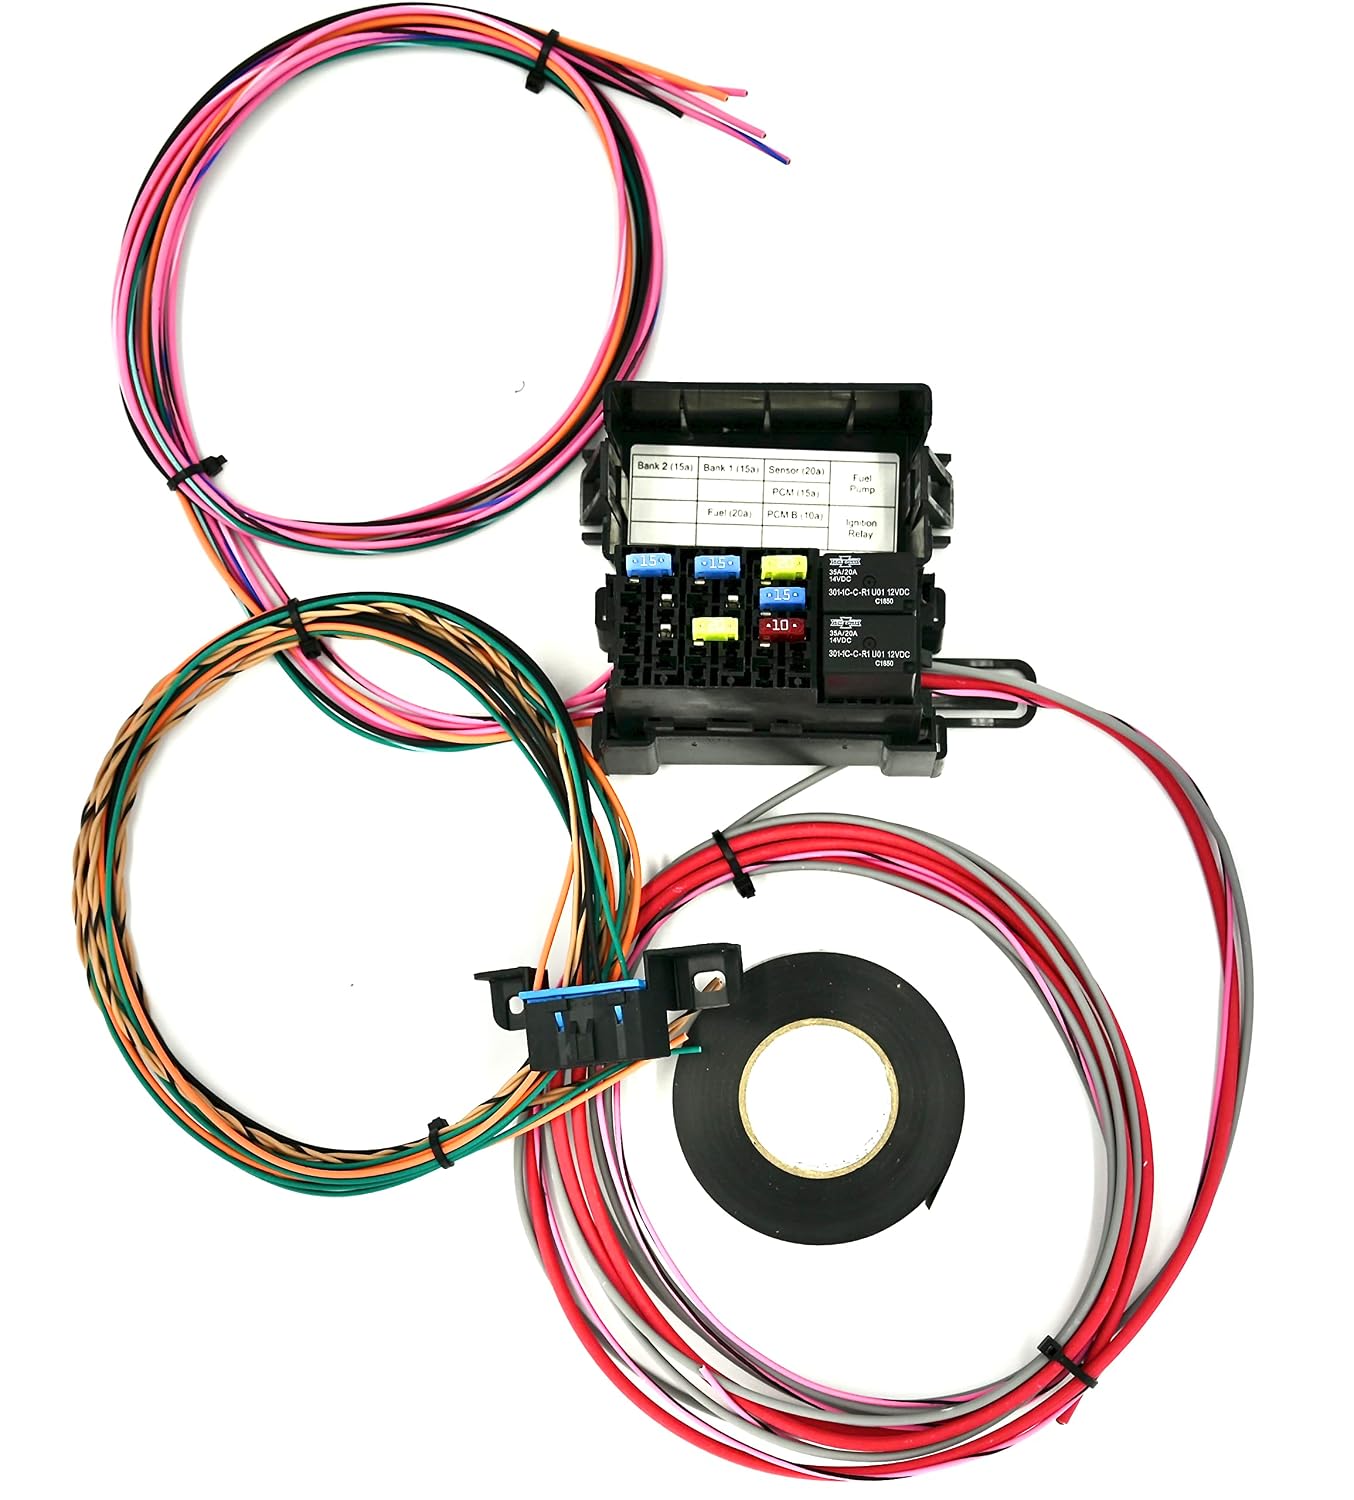
Michigan
$94.99
In stock on Amazon
Check price on AmazonThe mid-level build is where most budget harness frustration originates, and the root cause is almost always the same: injector connector type mismatch.
GM used two different fuel injector connector styles across the LS family. Early truck engines used Multec 2 connectors — a stubby, square-bodied plug. Later engines, including the flex-fuel 5.3 (RPO codes LC9 and LMF), the LS3, and LS7 applications, use EV6 connectors — a taller, narrower plug with a side-lock tab. These two connectors are physically incompatible without an adapter. Engine Labs’ contributor guide “How to Validate an LS Standalone Harness Before First Start” (enginelabs.com) documents this as the most commonly reported connector incompatibility in builder post-mortems — discovered, in the most painful cases, after the harness has already been routed through the firewall.
The fix is simple if you know about it in advance: EV6-to-Multec adapter pigtails cost approximately $15–$25 for a set of eight and are widely available from performance suppliers. The problem is that most sub-$200 harness listings do not identify which injector connector type they ship with, and most buyers don’t check until the plugs won’t seat.
The rule for this tier: Before ordering, check the 8th digit of your engine donor VIN. “J” indicates an LC9 flex-fuel 5.3; “Z” indicates an LMF flex-fuel 5.3. Both use EV6 connectors. LS3 and LS7 applications also use EV6. Order the adapter pigtails with the harness — not after.
PCM connector family is the second variable at this tier. LS PCMs come in two connector families the swap community calls “red” and “blue” — referring to the color-coded connector housings on the PCM itself. Red-connector harnesses serve the 1997–2002 Gen III truck PCM families. Blue-connector harnesses serve the 2003–2007 truck and most car-platform LS PCMs, including the 12580498 and 12586243 families used in GTO, Trailblazer SS, and later truck applications. These connector housings are not interchangeable. Hot Rod Magazine’s “LS Swap Wiring Demystified” (hotrod.com) identifies PCM connector family mismatch as one of the most common ordering errors among first-time buyers — confirm your PCM’s connector housing before placing any order.
Michigan
$94.99
In stock on Amazon
Check price on AmazonFull-Build Swap: 4L80E Transmission, High-Output Applications, Factory Gauge Integration
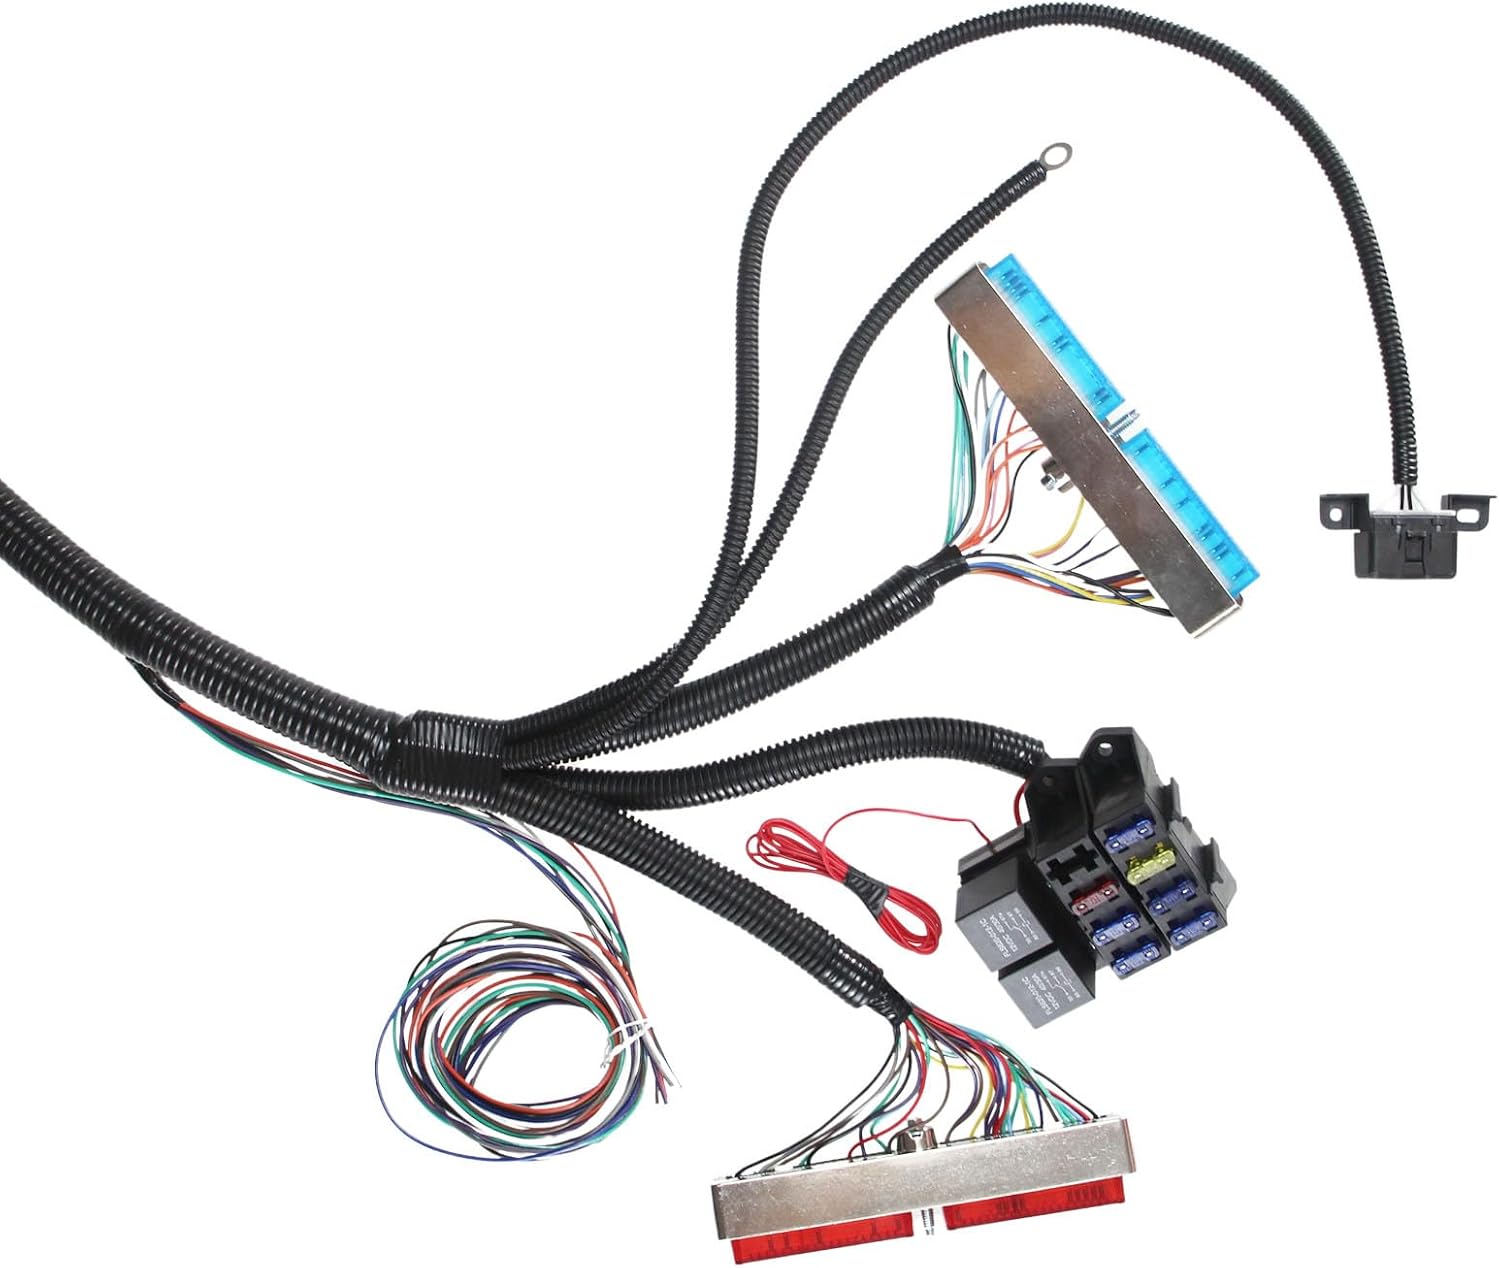
T56
$119.21
In stock on Amazon
Check price on AmazonHigh-torque builds — typically those pushing past 500 lb-ft at the crank — frequently pair an LS engine with a 4L80E transmission rather than the lighter-duty 4L60E. This is where budget standalone harness listings are most misleading. The phrase “supports 4L60E and 4L80E” typically means the PCM can be tuned to operate either transmission — not that the harness ships with both connector sets pre-terminated.
In practice, virtually every sub-$200 harness is pre-terminated for the 4L60E. The 4L80E uses a different connector pinout and requires additional wiring for the transmission range sensor. Adapting a 4L60E-terminated harness to a 4L80E requires a supplemental 4L80E transmission harness adapter — typically sold separately in the $30–$60 range from performance wiring suppliers. If your build involves a 4L80E, budget for that adapter before you’re under the car with the harness already routed.
Factory gauge integration is the other full-build variable. Most budget harnesses include the PCM-side oil pressure reference (the signal the computer uses for engine protection logic) but omit the secondary sender circuit that drives a factory-style oil pressure gauge. For builders retaining a factory instrument cluster — common in full-vehicle restorations — this circuit must be sourced and terminated separately using a generic GM oil pressure sender pigtail.
Super Chevy’s “LS Swap Wiring: Standalone Harness Tips and Pitfalls” (superchevy.com) notes that full-build swaps with factory gauge retention and 4L80E transmission requirements are the configurations most likely to outgrow a sub-$200 harness without supplemental wiring work — and that builders who price those supplements in advance consistently report smoother installs than those who discover the gaps mid-build.
T56
$119.21
In stock on Amazon
Check price on AmazonPre-Start Validation: The Step That Protects Your PCM
One documented failure pattern stands out across all builder feedback surveyed for this article: connecting a budget standalone harness to a PCM without checking for wiring errors first. The result, in the most severe cases, is a destroyed PCM — a failure that costs $150–$400 to replace and cannot be confirmed until you’re already troubleshooting a no-start condition with a dead controller.
Engine Labs’ contributor guide “How to Validate an LS Standalone Harness Before First Start” (enginelabs.com) outlines a validation sequence that applies to any budget standalone unit regardless of brand or price:
-
Continuity check every circuit before power-on. Use a multimeter on the resistance setting. Verify that each labeled circuit terminates at the correct PCM pin per the published pinout diagram for your specific control module. Cross-reference with the HP Tuners or EFI Live PCM pinout documentation for your exact PCM part number.
-
Check for shorts to ground on all power circuits. With the PCM connector disconnected, test each ignition-switched power circuit for continuity to chassis ground. A dead short indicates mis-termination — correct it before connecting anything.
-
Verify injector driver circuits are isolated from each other. Budget harnesses occasionally ship with injector bank wiring swapped or cross-terminated. Confirm bank 1 and bank 2 drivers are correctly assigned before cranking.
-
Confirm the main relay circuit operates correctly with a test light before connecting the PCM connector.
This is a 45-minute job with a basic multimeter. It’s the single highest-leverage step in a budget harness install, and the one most builders skip.
Frequently Asked Questions
How do I check a budget harness for wiring errors before I connect it to the PCM? Use a multimeter to perform a continuity check on every labeled circuit, cross-referencing against the published PCM pinout for your specific control module. Check for shorts to ground on all power circuits with the PCM connector disconnected. This takes under an hour and protects a PCM that costs far more than the harness itself.
Will this harness work with flex-fuel EV6 injectors or do I need adapters? Most budget harnesses ship with Multec 2 injector connectors. Flex-fuel 5.3 engines (LC9, LMF) and LS3/LS7 engines use EV6 connectors. You’ll need EV6-to-Multec adapter pigtails — a set of eight runs approximately $15–$25 and should be ordered before the harness arrives.
Does the harness include the oil pressure sensor connector for the factory gauge? Typically, no. Most budget standalone harnesses include the PCM-side oil pressure reference but omit the secondary sender circuit for a factory-style gauge. If you’re running an aftermarket gauge with its own dedicated sender, this is not a concern. If you need the factory gauge circuit, source a generic GM oil pressure sender pigtail and terminate it yourself.
What is the difference between the red and blue PCM harness variants? Red-connector harnesses are built for 1997–2002 Gen III truck PCMs. Blue-connector harnesses are built for 2003–2007 truck and most car-platform LS PCMs. Match the harness to your PCM’s physical connector housing — not your engine’s production year alone, since some engines were used with both PCM families depending on the donor vehicle.
Can I use a budget standalone harness with a 4L80E? Budget harnesses are almost universally pre-terminated for 4L60E. Running a 4L80E requires a supplemental transmission harness adapter. The PCM can support the 4L80E with the correct calibration, but the harness connector set must match the transmission’s physical pinout.
The Decision Rule
If you’re running a pre-2003 truck LS engine with a 4L60E and Multec injectors, a sub-$200 standalone harness is a legitimate starting point — provided you run the pre-start validation sequence before connecting the PCM. Confirm your PCM connector family before ordering.
If your engine is a flex-fuel 5.3, LS3, or any EV6-injector application, order the adapter pigtails with the harness and confirm injector connector type before the order ships. If you’re running a 4L80E, add the transmission adapter to your budget from the start. And if you need factory gauge integration, plan to source and terminate the oil pressure sender circuit yourself — it won’t be in the box.
Budget harnesses work. The builders who get engines running in hours are the ones who ordered the correct variant, sourced the adapters they knew they’d need, and validated the wiring before the first crank attempt. The ones who didn’t are the ones writing the cautionary posts.